Toyota 4Runner: Door Courtesy Light(for Front Door)
Components
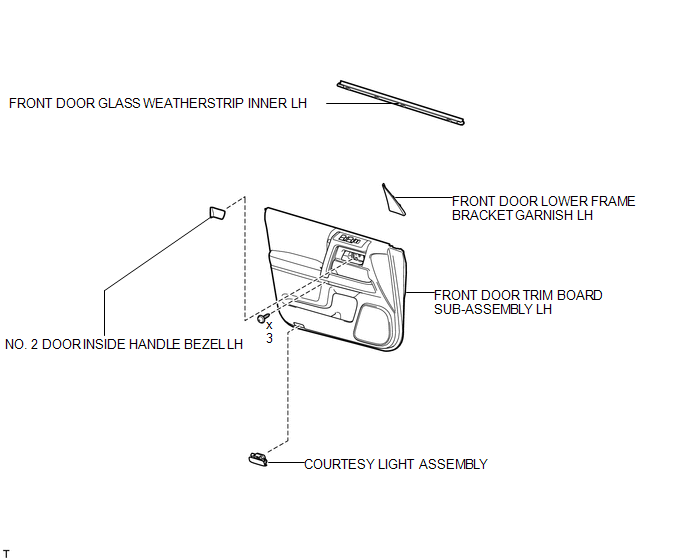
COMPONENTS
ILLUSTRATION
Removal
REMOVAL
CAUTION / NOTICE / HINT
HINT:
- Use the same procedure for the RH and LH sides.
- The procedure listed below is for the LH side.
PROCEDURE
1. REMOVE FRONT DOOR LOWER FRAME BRACKET GARNISH LH
.gif)
2. REMOVE NO. 2 DOOR INSIDE HANDLE BEZEL LH
3. REMOVE FRONT DOOR TRIM BOARD SUB-ASSEMBLY LH
4. REMOVE FRONT DOOR GLASS WEATHERSTRIP INNER LH
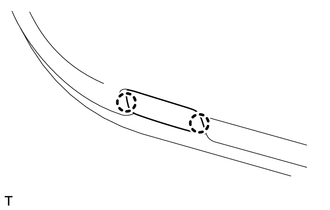
5. REMOVE COURTESY LIGHT ASSEMBLY
|
(a) Detach the 2 claws and remove the light. |
|
(b) Disconnect the connector.
(c) Remove the bulb.
Installation
INSTALLATION
CAUTION / NOTICE / HINT
HINT:
- Use the same procedure for the RH and LH sides.
- The procedure listed below is for the LH side.
PROCEDURE
1. INSTALL COURTESY LIGHT ASSEMBLY
(a) Install the bulb.
(b) Connect the connector.
(c) Attach the 2 claws to install the light.
2. INSTALL FRONT DOOR GLASS WEATHERSTRIP INNER LH
.gif)
3. INSTALL FRONT DOOR TRIM BOARD SUB-ASSEMBLY LH
4. INSTALL NO. 2 DOOR INSIDE HANDLE BEZEL LH
5. INSTALL FRONT DOOR LOWER FRAME BRACKET GARNISH LH
 Lighting (int)
...
 Door Courtesy Light(for Rear Door)
Components
COMPONENTS
ILLUSTRATION
Removal
REMOVAL
CAUTION / NOTICE / HINT
HINT:
Use the same procedure for the RH and LH sides.
The procedure listed below is for the LH side. ...
Other materials about Toyota 4Runner:
Do-it-yourself service precautions
If you perform maintenance by yourself, be sure to follow the correct
procedure as given in these sections.
CAUTION
The engine compartment contains many mechanisms and fluids that may move
suddenly, become hot, or become electrically energized. To av ...
Removal
REMOVAL
PROCEDURE
1. REMOVE FRONT WHEEL
2. REMOVE REAR WHEEL
3. REMOVE INSTALL GROUND SPARE TIRE
4. REMOVE TIRE PRESSURE WARNING VALVE AND TRANSMITTER
(a) Remove the valve cap and valve core to release the air from the tire.
NOTICE:
Keep the removed va ...
0.0136