Toyota 4Runner: Disassembly
DISASSEMBLY
PROCEDURE
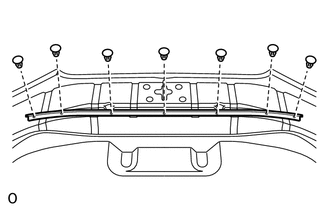
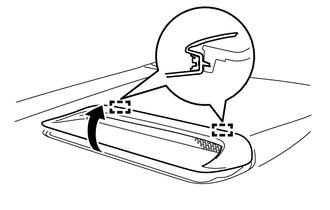
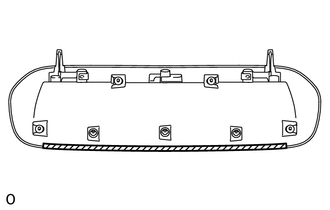
1. REMOVE HOOD TO RADIATOR SUPPORT SEAL
|
(a) Using a clip remover, remove the 7 clips and hood to radiator support seal. NOTICE: If the clips are damaged or fall off, replace them with new clips. |
|
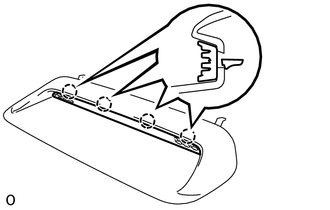
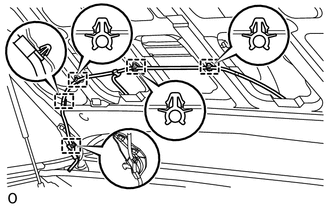
2. REMOVE HOOD INSULATOR
|
(a) Using a clip remover, remove the 10 clips. NOTICE: If the clips are damaged or fall off, replace them with new clips. |
|
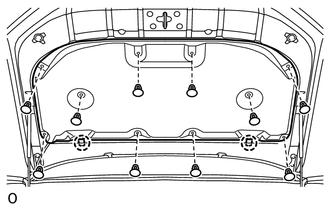
(b) Detach the 2 claws to remove the hood insulator.
3. REMOVE HOOD BULGE (w/ Hood Bulge)
|
(a) Remove the 4 nuts. |
|
|
(b) Detach the 3 clips from the back side of the hood panel. |
|
|
(c) Using a moulding remover, detach the 2 guides to remove the hood bulge together with the hood air intake guide as shown in the illustration. |
|
4. REMOVE HOOD AIR INTAKE GUIDE (w/ Hood Bulge)
|
(a) Detach the 4 claws to remove the hood air intake guide. |
|
5. REMOVE NO. 1 HOOD BULGE PROTECTOR (w/ Hood Bulge)
|
(a) Remove the 2 No. 1 hood bulge protectors. |
|
6. REMOVE NO. 2 HOOD BULGE PROTECTOR (w/ Hood Bulge)
|
(a) Remove the 2 No. 2 hood bulge protectors. |
|
7. REMOVE NO. 3 HOOD BULGE PROTECTOR (w/ Hood Bulge)
|
(a) Remove the No. 3 hood bulge protector. |
|
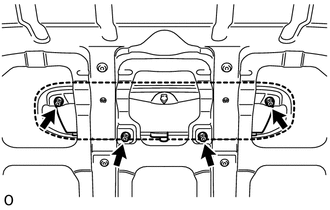
8. REMOVE WASHER NOZZLE SUB-ASSEMBLY
.gif)
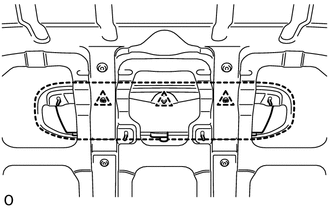
9. DISCONNECT WASHER HOSE ASSEMBLY
|
(a) Detach the 5 clamps to disconnect the washer hose assembly. |
|
10. REMOVE HOOD SUPPORT ASSEMBLY LH
11. REMOVE HOOD SUPPORT ASSEMBLY RH
HINT:
Use the same procedure for the LH side and RH side.
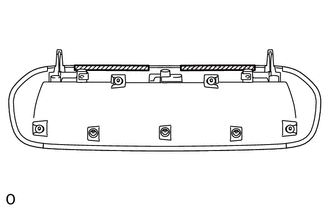
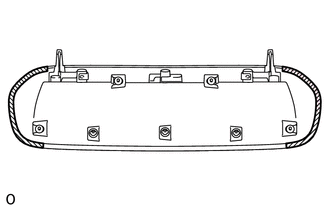
 Components
COMPONENTS
ILLUSTRATION
ILLUSTRATION
...
 On-vehicle Inspection
ON-VEHICLE INSPECTION
PROCEDURE
1. INSPECT HOOD SUB-ASSEMBLY
(a) Check that the clearance measurements of areas A through E are within each
standard range.
Standard:
Area
...
Other materials about Toyota 4Runner:
On-vehicle Inspection
ON-VEHICLE INSPECTION
PROCEDURE
1. CHECK SHIFT LOCK OPERATION
(a) Move the shift lever to P.
(b) Turn the ignition switch off.
(c) Check that the shift lever cannot be moved from P.
(d) Turn the ignition switch to on (IG), depress the brake pedal and che ...
Diagnosis System
DIAGNOSIS SYSTEM
1. DESCRIPTION
(a) Air conditioning system data and Diagnostic Trouble Codes (DTCs) can be read
through the Data Link Connector 3 (DLC3) of the vehicle. When the system seems to
be malfunctioning, use the Techstream to check for malfunct ...

0.0067