Toyota 4Runner: Door Courtesy Light(for Front Door)
Components
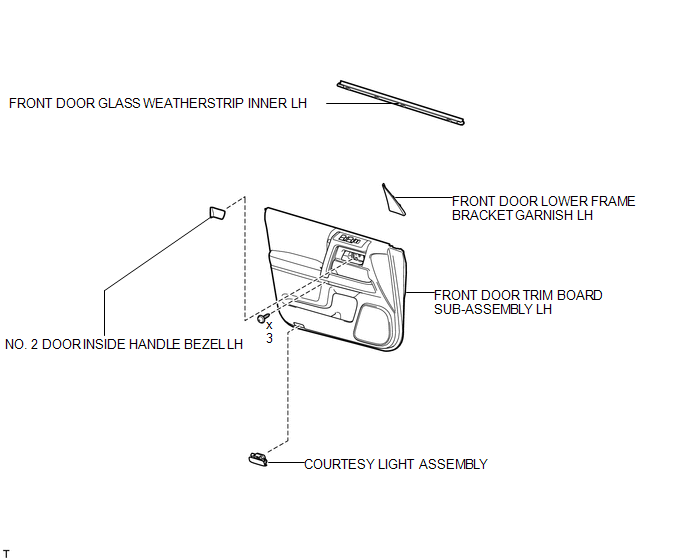
COMPONENTS
ILLUSTRATION
Removal
REMOVAL
CAUTION / NOTICE / HINT
HINT:
- Use the same procedure for the RH and LH sides.
- The procedure listed below is for the LH side.
PROCEDURE
1. REMOVE FRONT DOOR LOWER FRAME BRACKET GARNISH LH
.gif)
2. REMOVE NO. 2 DOOR INSIDE HANDLE BEZEL LH
3. REMOVE FRONT DOOR TRIM BOARD SUB-ASSEMBLY LH
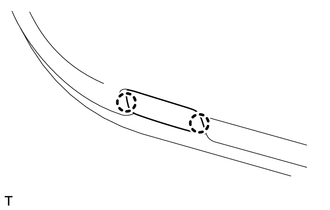
4. REMOVE FRONT DOOR GLASS WEATHERSTRIP INNER LH
5. REMOVE COURTESY LIGHT ASSEMBLY
|
(a) Detach the 2 claws and remove the light. |
|
(b) Disconnect the connector.
(c) Remove the bulb.
Installation
INSTALLATION
CAUTION / NOTICE / HINT
HINT:
- Use the same procedure for the RH and LH sides.
- The procedure listed below is for the LH side.
PROCEDURE
1. INSTALL COURTESY LIGHT ASSEMBLY
(a) Install the bulb.
(b) Connect the connector.
(c) Attach the 2 claws to install the light.
2. INSTALL FRONT DOOR GLASS WEATHERSTRIP INNER LH
.gif)
3. INSTALL FRONT DOOR TRIM BOARD SUB-ASSEMBLY LH
4. INSTALL NO. 2 DOOR INSIDE HANDLE BEZEL LH
5. INSTALL FRONT DOOR LOWER FRAME BRACKET GARNISH LH
 Lighting (int)
...
 Door Courtesy Light(for Rear Door)
Components
COMPONENTS
ILLUSTRATION
Removal
REMOVAL
CAUTION / NOTICE / HINT
HINT:
Use the same procedure for the RH and LH sides.
The procedure listed below is for the LH side. ...
Other materials about Toyota 4Runner:
Installation
INSTALLATION
PROCEDURE
1. INSTALL FRONT POWER WINDOW REGULATOR MOTOR ASSEMBLY LH
NOTICE:
The regulator arm must be below the intermediate position when installing the
power window regulator motor.
(a) Using a T25 "TORX" socket wrenc ...
Installation
INSTALLATION
PROCEDURE
1. INSTALL VOLTAGE INVERTER ASSEMBLY
(a) Install the voltage inverter with the 3 bolts.
Torque:
7.5 N·m {76 kgf·cm, 66 in·lbf}
(b) Connect the 2 connectors.
2. INSTALL DECK TRIM SIDE PANEL ASSEMBLY RH
3. INSTALL FRONT DECK ...

0.009