Toyota 4Runner: Door Courtesy Light(for Rear Door)
Components
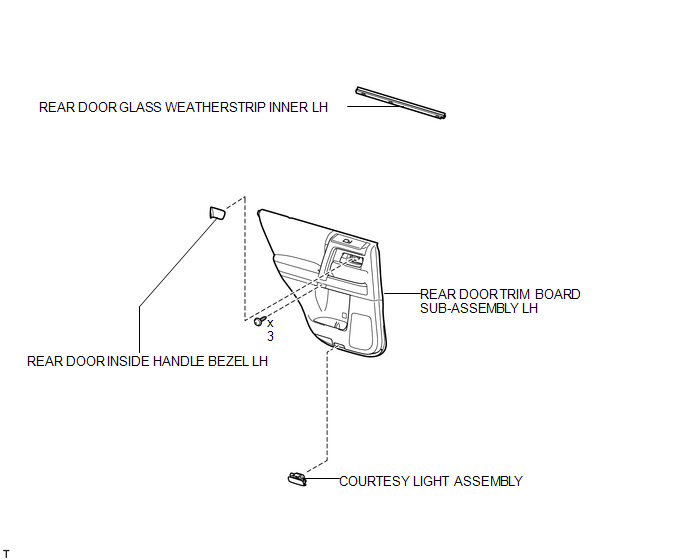
COMPONENTS
ILLUSTRATION
Removal
REMOVAL
CAUTION / NOTICE / HINT
HINT:
- Use the same procedure for the RH and LH sides.
- The procedure listed below is for the LH side.
PROCEDURE
1. REMOVE REAR DOOR INSIDE HANDLE BEZEL LH
.gif)
2. REMOVE REAR DOOR TRIM BOARD SUB-ASSEMBLY LH
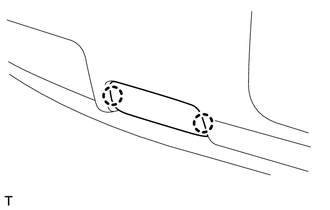
3. REMOVE REAR DOOR GLASS WEATHERSTRIP INNER LH
4. REMOVE COURTESY LIGHT ASSEMBLY
|
(a) Detach the 2 claws and remove the light. |
|
(b) Disconnect the connector.
(c) Remove the bulb.
Installation
INSTALLATION
CAUTION / NOTICE / HINT
HINT:
- Use the same procedure for the RH and LH sides.
- The procedure listed below is for the LH side.
PROCEDURE
1. INSTALL COURTESY LIGHT ASSEMBLY
(a) Install the bulb.
(b) Connect the connector.
(c) Attach the 2 claws to install the light.
2. INSTALL REAR DOOR GLASS WEATHERSTRIP INNER LH
.gif)
3. INSTALL REAR DOOR TRIM BOARD SUB-ASSEMBLY LH
4. INSTALL REAR DOOR INSIDE HANDLE BEZEL LH
 Door Courtesy Light(for Front Door)
Components
COMPONENTS
ILLUSTRATION
Removal
REMOVAL
CAUTION / NOTICE / HINT
HINT:
Use the same procedure for the RH and LH sides.
The procedure listed below is for the LH side. ...
 Front Door Courtesy Switch
Components
COMPONENTS
ILLUSTRATION
Inspection
INSPECTION
PROCEDURE
1. INSPECT FRONT DOOR COURTESY LIGHT SWITCH ASSEMBLY
(a) Measure the resistance according to the value(s) in ...
Other materials about Toyota 4Runner:
Vehicle Control History
VEHICLE CONTROL HISTORY
1. Function Overview
(a) The vehicle control history is a function that records control data (record
data) when triggered by specific vehicle behavior. When DTCs are not detected according
to information provided by customers, by ...
Components
COMPONENTS
ILLUSTRATION
ILLUSTRATION
ILLUSTRATION
ILLUSTRATION
ILLUSTRATION
ILLUSTRATION
ILLUSTRATION
ILLUSTRATION
ILLUSTRATION
ILLUSTRATION
ILLUSTRATION
ILLUSTRATION
ILLUSTRATION
ILLUSTRATION
ILLUSTRATION
ILLUSTRA ...

0.0124