Toyota 4Runner: Removal
REMOVAL
PROCEDURE
1. REMOVE REAR NO. 1 SPOILER COVER
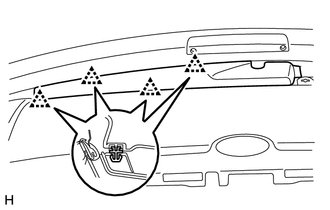
(a) Detach the 4 clips and remove the rear No. 1 spoiler cover.
2. REMOVE REAR SPOILER SUB-ASSEMBLY
|
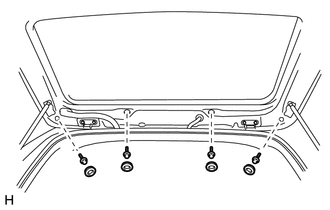
(a) Remove the 4 grommets and 4 bolts. |
|
|
(b) Put protective tape around the rear spoiler. Text in Illustration
|
|
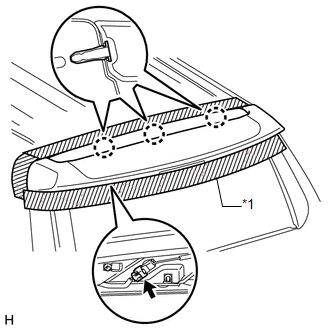
(c) Disconnect the connector.
(d) Detach the 3 claws and remove the rear spoiler.
3. REMOVE REAR NO. 2 SPOILER CLIP
HINT:
Use the same procedure to remove the rear No. 2 spoiler clip on the other side.
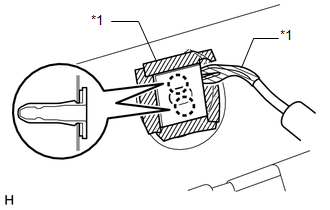
(a) Put protective tape around the No. 2 rear spoiler clip.
(b) Detach the 2 claws and No. 2 rear spoiler clip.
Text in Illustration|
*1 |
Protective Tape |
 Components
COMPONENTS
ILLUSTRATION
ILLUSTRATION
...
 Disassembly
DISASSEMBLY
PROCEDURE
1. REMOVE REAR NO. 1 SPOILER PROTECTOR
(a) Remove the rear No. 1 spoiler protector.
2. REMOVE REAR NO. 2 SPOILER PROTECTOR
HINT:
Use the same procedure to remove the rear ...
Other materials about Toyota 4Runner:
Removal
REMOVAL
PROCEDURE
1. REMOVE JACK BOX HOLE COVER
2. REMOVE REAR QUARTER PANEL MUDGUARD LH
3. REMOVE REAR QUARTER PANEL MUDGUARD RH
HINT:
Use the same procedure as for the LH side.
4. REMOVE REAR BUMPER COVER
5. REMOVE NO. 3 FLOOR WIRE
6. RE ...
Trailer towing tips
Your vehicle will handle differently when towing a trailer. Help to avoid an
accident, death or serious injury, keep the following in mind when towing:
• Speed limits for towing a trailer vary by state or province. Do not exceed
the posted towing speed ...

0.0192