Toyota 4Runner: Disassembly
DISASSEMBLY
CAUTION / NOTICE / HINT
HINT:
- Use the same procedure for the RH and LH sides.
- The procedure listed below is for the LH side.
PROCEDURE
1. REMOVE FRONT FENDER OUTSIDE MOULDING PAD LH
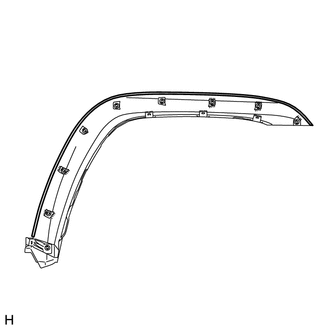
(a) Remove the front fender outside moulding pad.
2. REMOVE REAR DOOR UPPER OUTSIDE MOULDING PAD
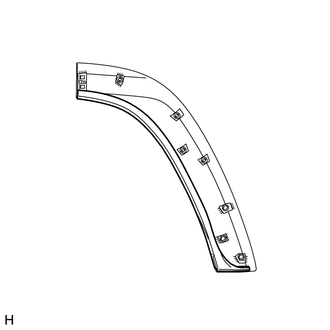
(a) Remove the rear door upper outside moulding pad.
3. REMOVE REAR DOOR NO. 1 MOULDING PAD
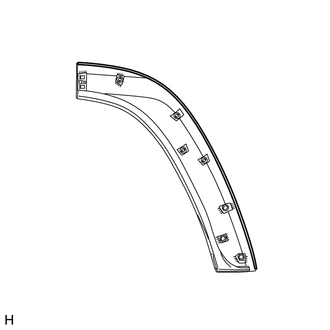
(a) Remove the rear door No. 1 moulding pad.
4. REMOVE NO. 1 QUARTER PANEL MOULDING PAD
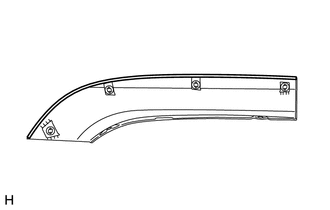
(a) Remove the No. 1 quarter panel moulding pad.
 Components
COMPONENTS
ILLUSTRATION
ILLUSTRATION
ILLUSTRATION
ILLUSTRATION
ILLUSTRATION
...
 Removal
REMOVAL
CAUTION / NOTICE / HINT
HINT:
Use the same procedure for both the RH and LH sides.
The procedure listed below is for the LH side.
PROCEDURE
1. REMOVE FRONT FENDER MUDGUA ...
Other materials about Toyota 4Runner:
Operation Check
OPERATION CHECK
1. INSPECT INDICATOR/WARNING LIGHT
(a) Check the following indicators and warning lights.
Indicator/Warning Light
Switch Condition
Specified Condition
Tire pressure warning light
I ...
SFR Solenoid Circuit (C0226,C0236,C0246,C0256,C1225-C1228)
DESCRIPTION
The solenoid turns on when signals are received from the skid control ECU and
controls the pressure acting on the wheel cylinders, thus controlling braking force.
DTC Code
DTC Detection Condition
Trouble Area
...

0.0066