Toyota 4Runner: Rear Wiper Rubber
Components
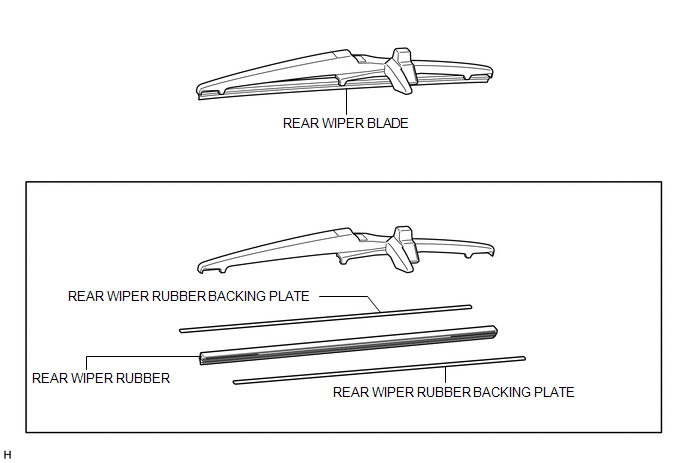
COMPONENTS
ILLUSTRATION
Replacement
REPLACEMENT
PROCEDURE
1. REMOVE REAR WIPER BLADE
|
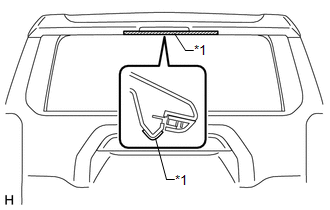
(a) Apply protective tape to the areas shown in the illustration. Text in Illustration
|
|
(b) Turn the ignition switch to ON.
(c) Turn the rear wiper switch on.
HINT:
The wiper motor does not operate if the back door and back door glass are not closed.
|
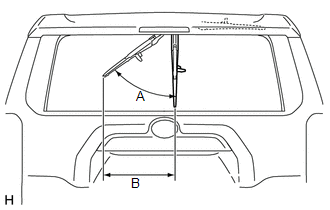
(d) Turn the ignition switch off when the wiper arm stops at the position shown in the illustration. Standard Clearance:
HINT: It is easier to stop the wiper blade at the position indicated in the illustration while the wiper blade is returning to the original position. |
|
|
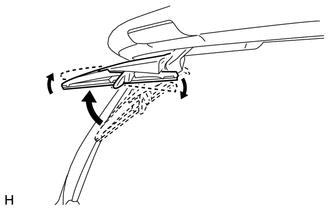
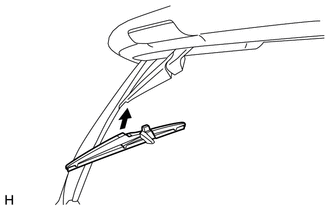
(e) Raise the rear wiper arm. Text in Illustration
NOTICE:
|
|
|
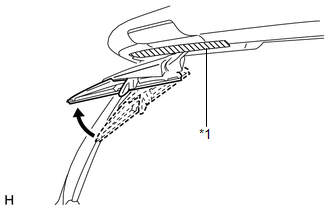
(f) Raise the wiper blade to the position where the claw detaches with a click sound as shown in the illustration. NOTICE: Be careful not to damage the claw. |
|
|
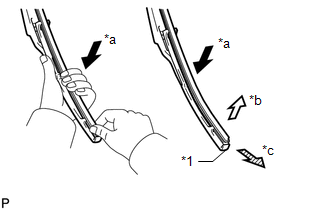
(g) Pull the wiper blade straight toward the left side of the vehicle to remove it from the wiper arm. NOTICE: Do not lower the wiper arm with the wiper blade removed. The arm tip may damage the back door glass surface. |
|

2. REMOVE REAR WIPER RUBBER
|
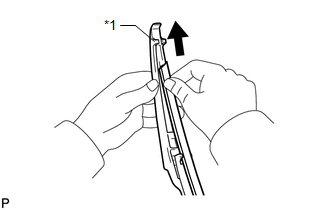
(a) Lift and pull the end of the wiper rubber protrusion from the blade stopper as shown in the illustration. Text in Illustration
NOTICE: Do not forcibly pull out the wiper rubber. The backing plates will be deformed or the blade claws will be damaged. HINT: Lightly pushing the rubber in the middle allows it to be removed more easily. |
|
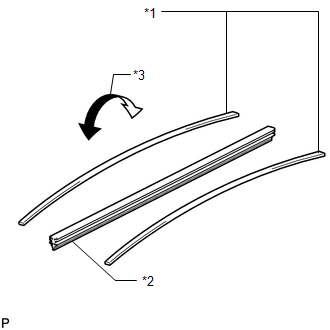
(b) Remove the rear wiper rubber backing plates.
3. INSTALL REAR WIPER RUBBER
|
(a) Install the rear wiper rubber backing plates as shown in the illustration. Text in Illustration
NOTICE: Install the backing plates so they are facing the correct direction. |
|
(b) Insert the wiper rubber into the front end of the wiper blade and slide it towards the rear end through the second claw.
|
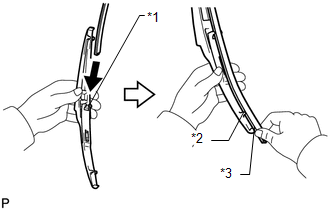
(c) After pushing the wiper rubber through the rear end claw, allow it to protrude past the rear end stopper. Text in Illustration
|
|
|
(d) Slide the wiper rubber through the front end claw. Text in Illustration
|
|
4. INSTALL REAR WIPER BLADE
|
(a) Push the wiper blade straight toward the right side of the vehicle to install it to the wiper arm. NOTICE: Make sure that the wiper arm does not interfere with the rear spoiler. |
|
|
(b) Attach the claw to install the rear wiper blade as shown in the illustration. NOTICE: Be careful not to damage the claw. |
|

 Installation
INSTALLATION
PROCEDURE
1. INSTALL REAR WIPER MOTOR AND BRACKET ASSEMBLY
(a) Attach the 2 guides and temporally install the rear wiper motor and
bracket assembly with the 3 bolts.
...
 Relay
Relay
On-vehicle Inspection
ON-VEHICLE INSPECTION
PROCEDURE
1. DISCONNECT CABLE FROM NEGATIVE BATTERY TERMINAL
NOTICE:
When disconnecting the cable, some systems need to be initialized after the cabl ...
Other materials about Toyota 4Runner:
On-vehicle Inspection
ON-VEHICLE INSPECTION
PROCEDURE
1. CHECK INSTRUMENT PANEL PASSENGER AIRBAG ASSEMBLY (VEHICLE NOT INVOLVED IN
COLLISION)
(a) Perform a diagnostic system check (See page
).
(b) With the instrument panel passenger airbag installed on the vehicle, perform ...
Installing child restraints using a seat belt (child restraint lock function
belt)
Rear facing -- Infant seat/convertible seat
Place the child restraint system on the rear seat facing the rear of the
vehicle.
Run the seat belt through the child restraint system and insert the plate
into the buckle. Make sure that the belt is not tw ...

0.008