Toyota 4Runner: Reassembly
REASSEMBLY
CAUTION / NOTICE / HINT
CAUTION:
Wear protective gloves. Sharp areas on the parts may injure your hands.
PROCEDURE
1. INSTALL REAR NO. 1 SEAT PROTECTOR LH
(a) Attach the claw to install the protector.
2. INSTALL REAR NO. 1 SEAT PROTECTOR
(a) Attach the claw to install the protector.
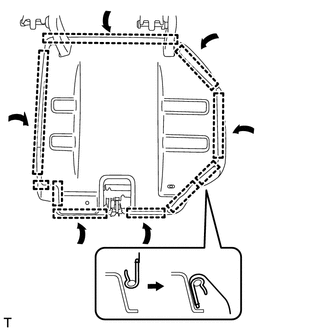
3. INSTALL REAR SEATBACK EDGE PROTECTOR
(a) Install the protector to the seatback frame.
4. INSTALL SEPARATE TYPE REAR SEATBACK COVER LH
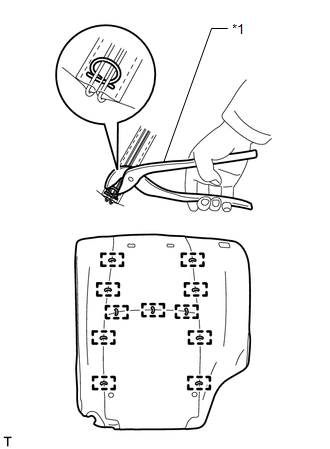
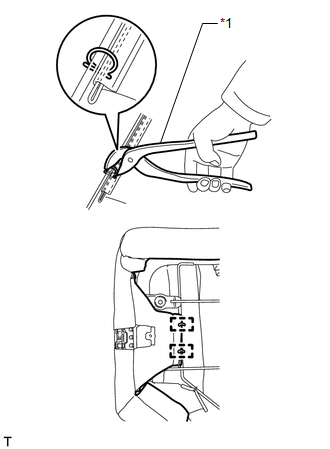
(a) Using hog ring pliers, install the seatback cover to the seatback pad with new hog rings.
Text in Illustration|
*1 |
Hog Ring Pliers |
NOTICE:
- Be careful not to damage the cover.
- When installing the hog rings, avoid wrinkling the cover.
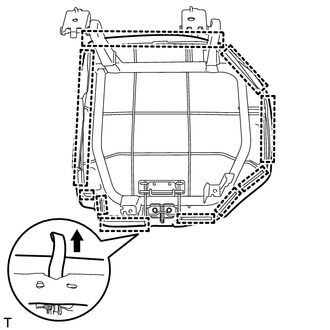
5. INSTALL SEATBACK COVER WITH PAD
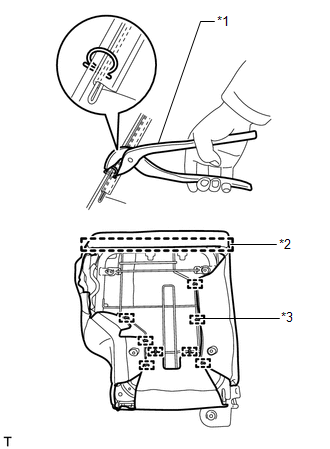
(a) Attach the hook.
Text in Illustration|
*1 |
Hog Ring Pliers |
|
*2 |
Hook |
|
*3 |
Hog Ring |
(b) Using hog ring pliers, install the seatback cover with pad with new hog rings.
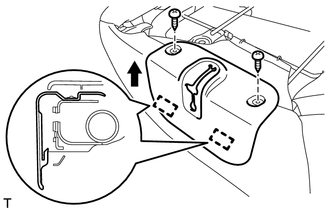
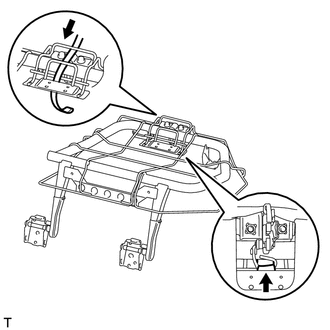
6. INSTALL REAR NO. 1 SEAT HEADREST SUPPORT ASSEMBLY
(a) Attach the 4 claws to install the 2 supports.
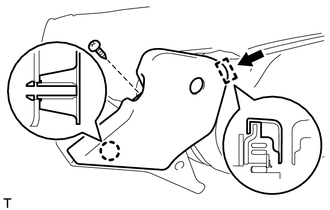
7. INSTALL REAR SEATBACK STOP BUTTON GROMMET
(a) Attach the 3 claws to install the grommet.
8. INSTALL REAR SEATBACK LOCK RELEASE BUTTON
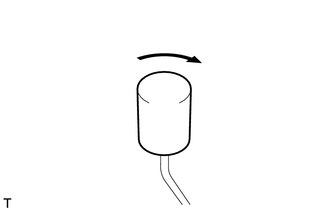
(a) Install the release button as shown in the illustration.
Text in Illustration
.png) |
Clockwise |
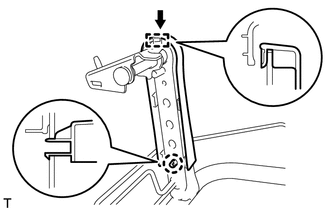
9. INSTALL REAR SEATBACK LOCK ASSEMBLY LH
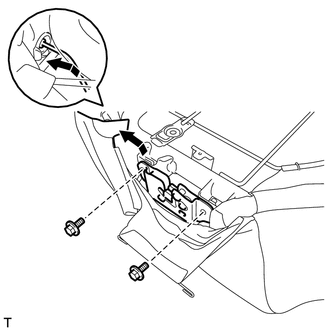
(a) While moving the release button in the direction of the arrow in the illustration, attach it to the grommet.
(b) Install the seatback lock with the 2 bolts.
Torque:
21 N·m {214 kgf·cm, 15 ft·lbf}
|
(c) Using hog ring pliers, install 2 new hog rings. Text in Illustration
|
|
10. INSTALL REAR SEATBACK LOCK COVER LH
(a) Attach the 2 hooks to install the cover.
(b) Install the 2 screws.
11. INSTALL REAR SEAT INNER RECLINING COVER LH
(a) Attach the guide and claw to install the cover.
(b) Install the screw.
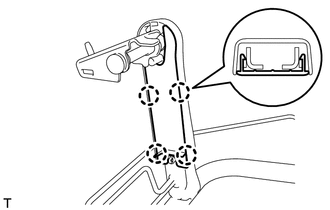
12. INSTALL REAR NO. 1 SEAT INNER BELT ASSEMBLY LH
.gif)
13. INSTALL REAR SEAT LEG COVER
(a) Attach the guide and claw to install the cover.
HINT:
Use the same procedure for both covers.
14. INSTALL REAR SEAT LEG BRACKET COVER
(a) Attach the 4 claws to install the cover.
HINT:
Use the same procedure for both covers.
15. INSTALL REAR SEAT CUSHION BAND
(a) Install the band as shown in the illustration.
16. INSTALL SEPARATE TYPE REAR SEAT CUSHION COVER LH
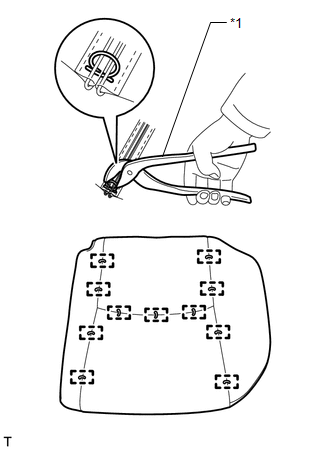
(a) Using hog ring pliers, install the seat cushion cover to the seat cushion pad with new hog rings.
Text in Illustration|
*1 |
Hog Ring Pliers |
NOTICE:
- Be careful not to damage the cover.
- When installing the hog rings, avoid wrinkling the cover.
17. INSTALL NO. 1 SEAT CUSHION COVER LH
(a) Install the cover to the seat cushion pad with new tack pins.
18. INSTALL SEAT CUSHION COVER WITH PAD
(a) Attach the hooks to install the seat cushion cover with pad.
(b) Connect the seat cushion band to the seat cushion cover.
19. INSTALL REAR SEAT CUSHION UNDER COVER LH
(a) Attach the hooks to install the cover.
20. INSTALL REAR SEATBACK PROTECTOR
(a) Attach the 2 hooks to install the protector.
(b) Install the 2 screws.
21. INSTALL REAR SEAT CUSHION
(a) Install the 2 cushions with the 2 screws.
 Removal
REMOVAL
CAUTION / NOTICE / HINT
CAUTION:
Wear protective gloves. Sharp areas on the parts may injure your hands.
PROCEDURE
1. REMOVE REAR SEAT CUSHION HINGE COVER
(a) Using a moulding remover, ...

Other materials about Toyota 4Runner:
Removal
REMOVAL
PROCEDURE
1. DISCONNECT CABLE FROM NEGATIVE BATTERY TERMINAL
NOTICE:
When disconnecting the cable some systems need to be initialized after the cable,
is reconnected (See page ).
2. REMOVE REAR NO. 1 FLOOR STEP COVER (w/ Rear No. 2 Seat)
3. ...
Disassembly
DISASSEMBLY
PROCEDURE
1. REMOVE REAR AXLE SHAFT SNAP RING LH
(a) Using a snap ring expander, remove the snap ring.
2. REMOVE REAR AXLE SHAFT LH
(a) Using SST and a press, press out the rear axle shaft.
SST: 09521-25023
SST: 09521-25011
( ...

0.0086